HOW TO CHECK WHAT TIME A COMPUTER WAS SHUT DOWN LAST
In case you are living in the same house with many people, then you may feel the need of protecting your computer’s data, especially when you are away. You can check the last shutdown time on the both Windows PC and Mac by following the steps mentioned below.
Steps to Know the Last Shutdown Time on Windows 10
• Go to the Start option.
• Enter “Event Viewer” in the text field and after that, click on the Enter button.
• Click twice on the Event Logs folder located in the left side of the panel.
• You need to right-click on the “System” option.
• After that, choose the “Filter Current Log” option.
• Now, you will get the system window on display.
• You need to find the Event Sources pull-down box.
• Go to the pull-down menu.
• After that, search for the “Power-Troubleshooter” option.
• You will get many options on the display.
• Choose one of the options according to your requirement.
• After completing the step as mentioned above, press on the OK button.
• Now the Event Viewer window will display all the details of which you have the requirement.
• Go to the panel given on the center of the window.
• You can go through the current events located on the upper column.
• Now, the startups will be displayed in the log window.
• You need to check the last shutdown time on the computer.
• In case someone else used your system when you were somewhere else, then the log window will
display the shutdown time of your system.
• In case you will get the suspicious log, then press on it and check why your system screen wakes up.

• This information will show in the end column of the panel located on the center of the screen.
• Now, you will get a clear image of all the things done on your system.
• You can know more details by going to the Recent Documents, history and any other folders.
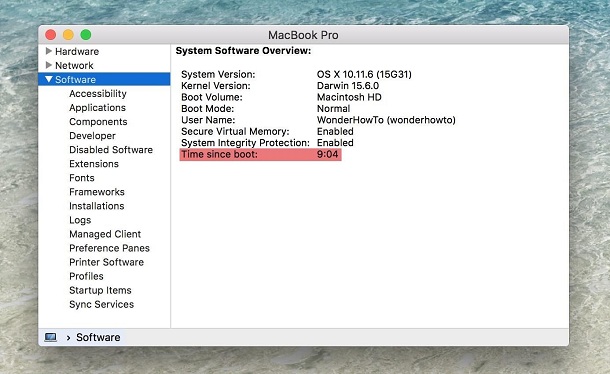
Steps to Know the Last Shutdown Time on Mac OS X
• Tap on the Spotlight symbol.
• Type the Console in the text field.
• Go to the Console application after finding it.
• Tap on the kernel.log located in the left-hand textbox.
• In case you are not able to find the left-hand textbox, then press on the Show Log List” option.
• Enter “Wake reason: EC.LidOpen” on the provided section.
Abigail Smith is an inventive person who has been doing intensive research in particular topics and writing blogs and articles on Canon Printer Support and many other related topics. He is a very knowledgeable person with lots of experience.
Abigail Smith is an inventive person who has been doing intensive research in particular topics and writing blogs and articles on Canon Printer Support and many other related topics. He is a very knowledgeable person with lots of experience.


Comments
Post a Comment