How to Add Google Photos to File Explorer
Google Photos is an amazing backup source which allows you to upload files and media on it which you can save it as your backup. Google Photos is quite easy to use, and it offers multiple amazing and useful backup features. Today, Google Photos comes as a built-in app on many modern smartphones in the market. It only needs a one-time set up in which you need to provide your email account details. Google Photos has a huge backup space, and you can buy more space in it in case you need it. Downloading your photos from Google Photos can be quite a time consuming and chaotic task. Fortunately, there is an alternative method available that only a few users are aware of. If you are a Windows user, then you can add and organize your Google Photos on the File Explorer on your PC. If you want to know how to do that, then follow the methods I have mentioned below.
By getting the Backup and Sync App
Google has introduced an app called Backup and Sync not very long back for Microsoft Windows. You can use this to sync any specific folder with your computer. The app is quite amazing and easy to use too. Backup and Sync app also allows your upload and download Google Photos directly on your PC. Users can also choose the quality of images and switch between devices in no time. To do all of that with the Backup and Sync app, all you have to do is to download it first and then follow the steps mentioned below.
- After downloading and installing the app, launch the app on your PC.
- Now, sign in into your Google account by entering the credentials.
- Make sure you will use the same Google account you are using with Google Photos to sync them successfully.
- Now, select to backup photos and videos or everything you have on your Google Photos backup.
- After that, choose those PC folders you are willing to back up.
- Next, choose the size of upload of your photos under Photo & Video upload size section.
- Now, choose the Start option to start syncing all the folders to your Google Photos.
By accessing Google drive folder on your PC
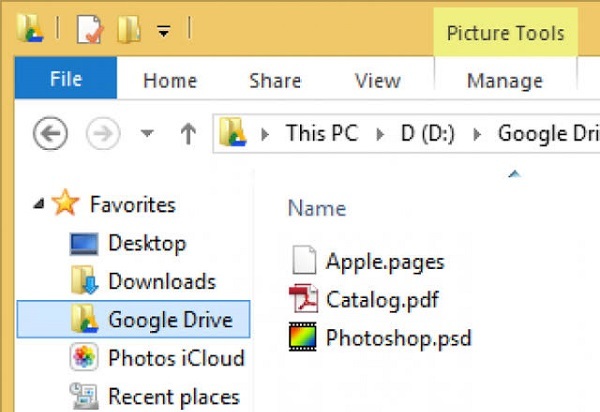
After syncing the devices, it’s time to customize the app’s preferences. By doing this, you will be able to find the Google Drive folder on your PC. After locating the folder, it will appear as a tab in File Explorer. After the folder appears in File Explorer, you can access any item in it with a couple of clicks. To locate and access the Google Drive folder on your PC, follow the steps listed below:
- First of all, click on the Backup & Sync icon available at the bottom right corner of the taskbar.
- After that, a tiny window will appear in the corner of the screen.
- Now, click on three dots available at the top right side of the menu.
- Choose Preferences and click on it available in the drop-down menu.
- In there, choose Google Drive window from the sidebar.
- After that, click on the Sync My Drive to this computer option available under Google Drive section.
- At last, check the location of the folder by opening Folder location option and you will know where the folder is located on your PC.
Abigail Smith is an inventive person who has been doing intensive research in particular topics and writing blogs and articles on Canon Printer Support and many other related topics. He is a very knowledgeable person with lots of experience.


Comments
Post a Comment